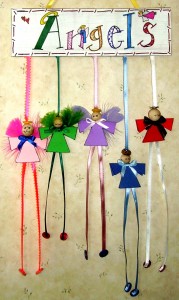
These little angels are cute in their colored dresses and feather wings, ribbon legs and button feet. I think they would be really cute using white for the dresses and feather wings, and twine for the legs. Brown or black buttons for the feet, gold buttons for the halos and tiny gold bows at the neck. But, that’s the fun of art and crafting—-your imagination produces  many unique results. It’s the experimenting that’s fun!
Supplies:
- White cardstock
- Colored construction paper
- Assorted colors of ribbon (5 pieces cut at 8″; 5 pieces cut at 18″; 1 piece cut at 11″)
- Assorted colors of buttons
- Small ribbon bows
- Assorted colors of feathers
- Angel dresses (Pattern)
- Angel sign (Pattern)
- ½” to ¾” wooden beads or balls
- One 10″ skewer
- Thin black Sharpie
- Colored markers
- Colored pencils
- Tape
- Glue gun
Directions:
- Print the angel dresses on colored construction paper. Print the sign on white cardstock.
- Cut the angel dresses out, fold so the bottom of the skirts are even and cut a small notch at the marked spot.
- Thread an 8″ piece of ribbon through the notch and tape one end to the inside of the dress. Thread a wooden bead on the ribbon and secure with a touch of hot glue. (If using wooden balls, put some hot glue on the back side of the wooden ball and secure to the ribbon. Put a touch of glue at the neck of the dress and adhere the ball to the dress.) Glue a yellow or gold button to the top of the head, bring the ribbon to the top of the button and secure with a spot of hot glue.
- Fold an 18″ piece of ribbon in half and tape the fold to the inside of the skirt bottom. Glue the front and back skirts together. Glue buttons to the bottoms of the ribbon legs. (Put a bit of glue on the middle of the button, glue the end of the ribbon to the button and then fold the ribbon back and glue so the ribbon hangs straight up from the button.)
- Glue feathers to the back of the dress, for wings. Glue a tiny bow on the dress under the head.
- With the black Sharpie draw eyes on the wooden bead or ball.
- Evenly space and glue the top ribbon of each angel to the skewer.
- Repeat the above steps for the other four angels.
- Color the Angel sign with the colored markers. Color the faces with colored pencil. Lightly color the sign with colored pencilsuse two or three colors, but color very lightly.
- Tape the skewer to the inside bottom of the angel sign. Tape the ends of the 11″ ribbon, at a slant, 2″ from the top ends of the sign.
- Glue the blank sign over the back of the angel sign covering the skewer and the tapes.
Christmas Projects Gallery:











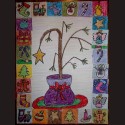
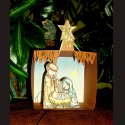

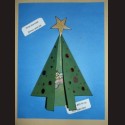

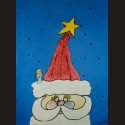



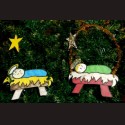


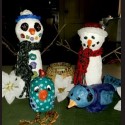
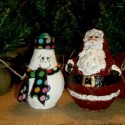


It really helped when you said that we should use our imagination to make crafting more fun for my daughters. They’ve been really obsessed with the thought of angels guiding them wherever they went and would like to make ornaments similar to the photo you attached. Aside from experimenting with them, I feel like I should purchase a small kneeling angel statue that I can place in their bedroom.