 Children like to know how their name was chosen. If they were named after a Saint, they are especially interested in learning about the life of that Saint. When a person shares the same name as a saint, the saint is thought of as their patron saint.
There are some saints that we call on for specific needs. For instance, we ask St. Christopher to pray for our safety when traveling and St. Anthony when we look for a lost object. St. Christopher is the patron saint of travelers and St Anthony the patron saint of lost items.
Just as we ask our family and friends to pray for us, we can also ask a saint to petition for us by praying to God on our behalf.
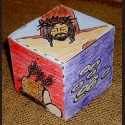
Finding interesting information about a particular saint, and making a Patron Saint Wallet, helps the student become familiar with their saint namesake. Making a saint wallet, featuring their patron saint, would also be a nice gift for a parent or friend.
Supplies:- Two 9×12 sheets of white construction paper
- Glue or glue stick
- Ruler and stylus (or empty ball point pen)
- Paper punch
- 24″ yarn or cording
- 2 pony beads
- Saint picture
- Colored pencils, markers
Directions:
Before starting this project, have the students find a picture and information about the saint they choose. Information that might be included is: Feast Day date, Patron of, when canonized by which Pope. Write a short biography of the saint which includes the saint’s birth and death dates. Write a short prayer asking the saint to pray for us and to thank them for being a great example on getting to heaven.
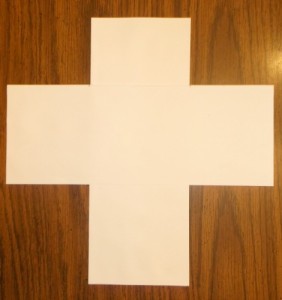
1. Fold the two pieces of construction paper in half, lengthwise. Apply glue to one side of the folded page, fold together and apply pressure. Do the same with the second sheet of paper. Center the second folded sheet over the first folded sheet, with the top edge about three inches down. Each side should be about 3.75″ from the outside edges of the bottom sheet. Apply glue where the sheets overlap and glue together.
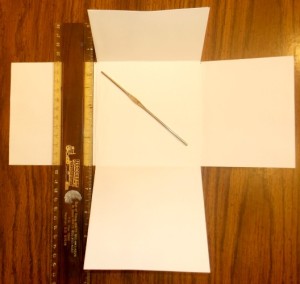
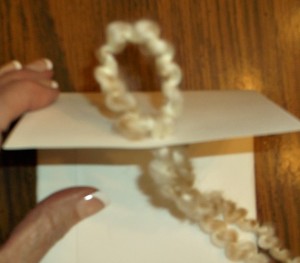
Use a stylus and ruler to make a fold line along each side of the center square. The stylus helps get nice sharp folds. Fold all extensions toward the inside. Use a paper punch to make a hole in the center top edge of the top (shortest) extension. Fold the piece of cord or yarn in half and thread the folded side through the hole, from the inside to the outside of the top flap.
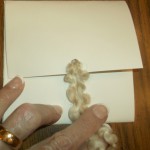
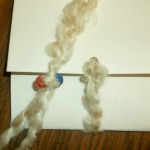
Thread the ends of the yarn through the loop and put slightly taut. Wrap the yard to the back of the wallet, thread a pony bead on each of the yarn ends, pull them up to just below the top flap and tie the beads into a knot. Trim the yarn ends to about two inches in length. Close the wallet by slipping the beaded yarn ends under the bottom yarns.
Click on an image above to get a larger view.
Glue the picture of the saint in the center square of the wallet.
Write the short biography of the saint on the four extensions.
Decorate the outside areas of the wallet.
 3rd Grade Projects Gallery:


