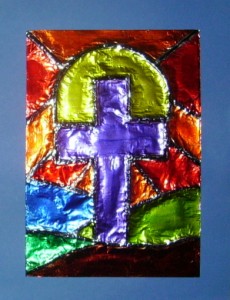
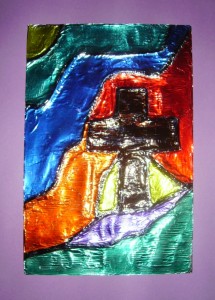
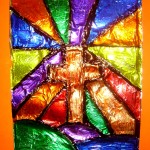
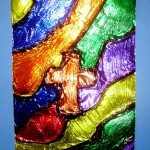
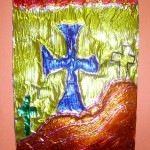
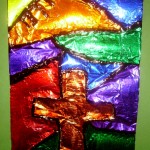
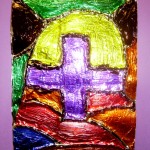
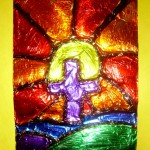
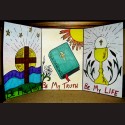
These beautiful Lenten pictures are made using tinfoil and permanent marker. This is quite an outstanding project I think it has a Tiffany style look.
- Cardboard (cut 6 ½
 x 9
x 9 )
) - Pencil
- Yarn
- White glue
- Tinfoil
- Scissors
- Paint brush
- Water
- Tape
- Colored permanent markers
- Black Sharpie
Directions:
- With the pencil, draw a Lenten scene. Some suggestions are: a cross, hills, sky, sun, and rays. Be sure your spaces aren’t too small.
- Starting with the cross, run a bead of white glue over the pencil marks. Then cut and glue pieces of yarn over the glue. Glue and place yarn over all the lines in the picture.
- Cut a piece of tinfoil that is about two inches wider and two inches longer than the picture. On the dull side of the tinfoil, run lines of white glue around the edges and through the center of the tinfoil. With the paint brush that has been dipped in water, spread the glue completely over the back of the tinfoil.
- Center the picture, yarn side down, over the tinfoil and fold the edges of the tinfoil to the back of the picture and tape the corners.
- With your finger, press over the front of the tinfoil-covered picture, sliding your thumb close to the yarn.
- With the colored permanent markers, fill the spaces in with color. I found that it works best to outline the space with the chosen color and then using the marker, sort of on its side, to fill in the area.
- Run over the raised area (yarn) with the black marker.
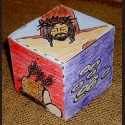
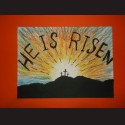
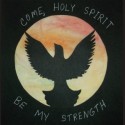
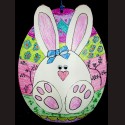
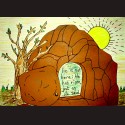
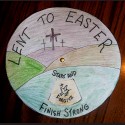
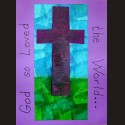
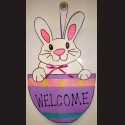
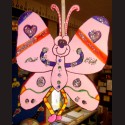
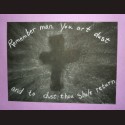
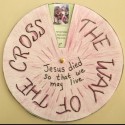
Easter Projects Gallery:














Pingback: Celebrating Holy Week With Kids – Godspacelight
Pingback: Celebrating Holy Week With Kids – Godspace