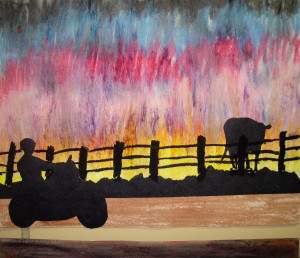
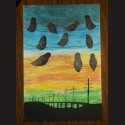
The class viewed a Power Point presentation of sunset silhouettes. I’ve included the Powerpoint presentation in the supplies list, but it takes a few seconds for it to download. Some of the things we noted about silhouettes: 1. you need to think of the light source as being from the back rather than from the front; 2. if there is more than one object or person in silhouette, there must be distance between them or they merge; 3. you want silhouetted people in profile, rather than straight on, so that features like a nose or mouth are outlined and are more recognizable.
Supplies:
- Sunset Silhouettes (Powerpoint)
- White construction paper
- Black construction paper
- Magazine pictures
- Double sided tape
- Scissors
- Oil pastels
- Glue stick
Directions:
- Choose an appropriate picture from a magazine that will be the silhouette. (To save class time, I had torn pages from magazines with fitting pictures.)
- Cut the image with at least one inch margin around it. Using small pieces of double sided tape, tape the back of the image to the black construction paper.
- Carefully cut around the image and then remove the image from the black silhouette.
- Prepare the background by using oil pastels. Tear pieces of the black construction paper as the ground area and glue to the sunset background.
- Glue the silhouette, or sihouettes, to the background.
6th Grade Projects Gallery


Love the idea! We are starting an animal classification unit and hope to incorporate this. Thanks.