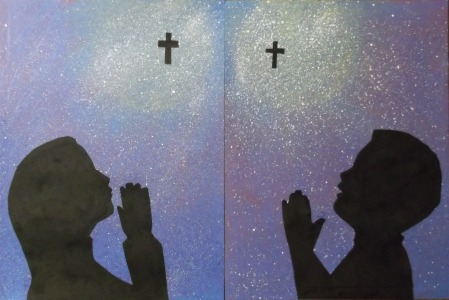
 As Christians, we want to teach our children to express thanksgiving, everyday, for the blessings that are received. Expressing thanks for waking each morning with the opportunity to go to school, eat healthy meals and interact with friends is only the beginning.
Allow the kids to itemize different things that they are thankful for and write them on the board while working on this art project.
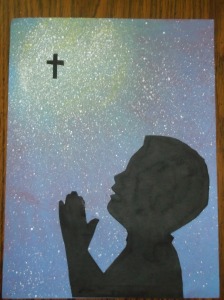
I’ve included boy and girl templates to print, but some classes may prefer hand drawing their own silhouettes.
Supplies:Â
- Construction paper (to make circle template)
- Black construction paper for the silhouettes
- Blue construction paper for the background
- Praying girl (Pattern)
- Praying boy (Pattern)
- Colored chalk
- Kleenex
- White craft paint
- Old toothbrush
- White glue
Directions:
Print out the silhouette pattern or patterns, making sure to either print them out in color, or trace over the lines with a green marker so you can see the lines when making copies on the black construction paper.
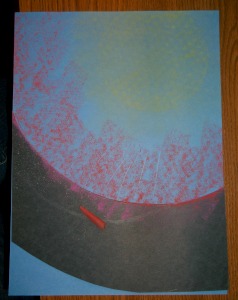
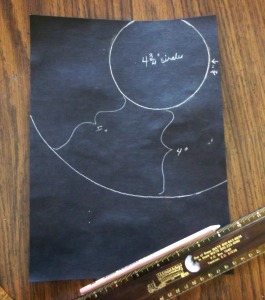 Draw a template for making the circle and arc shapes using a sheet of construction paper the same size as your blue background paper. This is a good time to use that faded or off colored construction paper. The four and three-fourths inch circle is drawn so the circle is off the paper one fourth inch at the top of the page and one half inch from the right side of the paper. The second arc is drawn four inches down from the circle.
Carefully cut out the circle and the arc. The pieces will be used when applying the chalk to the blue background paper.
IMPORTANT:  This template is used for both the boy and the girl pictures, but the template is turned over to make the background for the boy picture. Notice where the bright yellow spot is on each of the pictures.
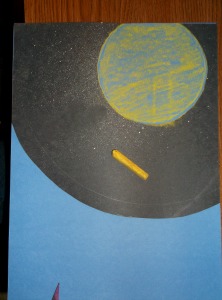
Remove the circle piece from your template and, using chalk (I used yellow), color inside the circle making sure that you include the chalk right to the edge of the circle.
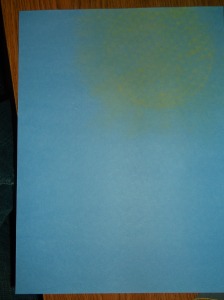
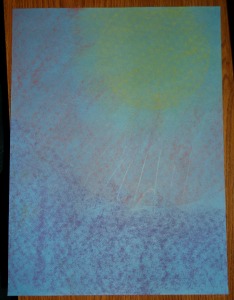
Remove the template and using the Kleenex, blend the chalk. From the center of the circle, blend out forming rays from the circle.
Place the bottom part of the template on the blue paper background and add a second color of chalk. I used red, making sure to color right up to the template arc. Remove the template and blend the red color chalk slightly into the yellow.
Add a third chalk color (I used lavender) to the rest of the blue background sheet. Blend the chalk and into the red area above it.
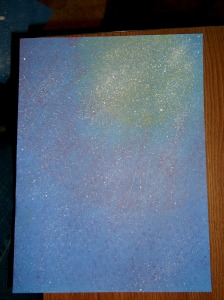
Slightly thin the white craft paint. Then using a stiff bristled toothbrush, spatter paint the background paper. I made sure that I had more spatters in the yellow area.
Set the background aside and cut out the silhouette.
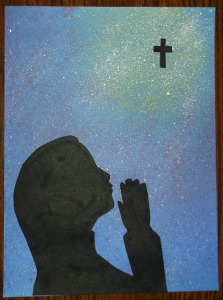
Carefully cut out the silhouette and the cross. Glue the silhouette and cross on the prepared background.
Easter Projects Gallery:













Thanks for drawing this to my attention. I think it’s fixed now.
Hi there, is there any possibility that you could upload the praying girl template?
Hola hermana, disculpe pero la tradición al español no es buena y no entiendo nada. gracias