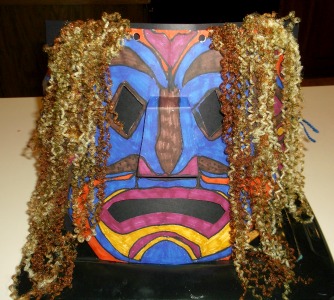
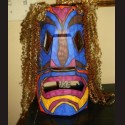
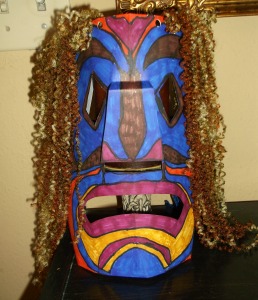
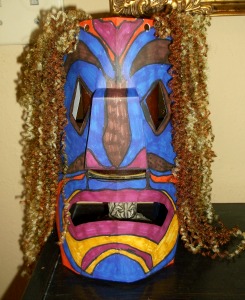
 The Native American used masks as part of their religious ceremonies, as part of ceremonial costumes, for entertainment or for medicinal purposes. The masks were often made to represent the spirits of animals, and the Pacific Northwest Indians believed that by wearing the mask, they were able to share some of the spirit’s powers. The powers they hoped to share were of strength, wisdom and purpose. The masks were constructed of wood from trees available, and the Indians made their own paints from plants.
By entering “Native American masks†in Google search and then clicking on “Images†you’ll find many examples, to give the class ideas for making their mask.
Supplies:
• 12†x 18†white construction paper
• Mask folding guide (Sheet 1)
• Mask folding guide (Sheet 2)
• Mask Pattern (Sheet 1)
• Mask Pattern ( Sheet 2)
• Colored markers or Crayons
• Scissors, tape
• Hole punch
• Yarn, feathers, beads, etc.
Directions:
1. Print off the two sheets of the folding guide and tape together at the dotted line. You’ll only need one of these copies.
2. Print off the two sheets of the Mask Pattern, tape at the dotted line and use this copy to make copies on the 12†x 18†construction paper.
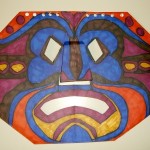 Â
 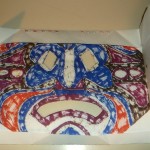 Â
 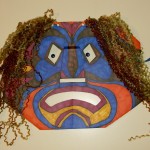
3. Draw features on the mask inside the solid lines. Then color with crayons or markers.
4. Cut out the eye holes, three sides of the nose and the mouth. Fold the nose where indicated on the folding guide.
5. Fold around the mask following the (#s.) ( Click on the image above to see a larger view.)Â Tape the folded paper to the back of the mask. This will make the mask stronger.
6. Use the paper punch to make holes on the sides of the mask for ties. If you want to add yarn, raffia, etc. for hair, punch holes along the top of the mask.
7. Optional: Add feathers, beads, etc.
4th Grade Projects Gallery:

