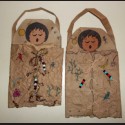
Using a brown grocery bag and making “leather” for this project is the first step when making this American Indian papoose. The third graders in our school study the American Indians, so I thought this would be a fun project for them. It will take more than one one-hour class unless the “leather” is made before class. The process is very easy and while I’m working with the brown bags I always make extra for future projects.
- Brown grocery bag
- Tan construction paper
- Indian baby (with sleepy face) (Pattern)
- Indian baby (blank face) (Pattern)
- Indian symbols (Copy)
- Colored markers or crayons
- Black marker
- Yarn, two pieces measuring 36″ long
- Pony Beads
- Scissors
- Stapler
- Hole punch
- Tape
Pre-Class Preparation: Making brown paper bag look like “leather”
- Tear off the handles of the brown grocery bag, glue or tape them together and cut to an 18″ length. This will be the papoose strap.
- Cut down the seam of the paper bag and cut the bottom out of the bag. Keep this bottom piece because it becomes the board of the papoose.
- Dunk the bag paper into a sink of warm water. Scrunch the paper together and squeeze out as much water as you can. Do not try to wring the water out of the paper -the paper will rip. Unfold the paper and lay flat to dry.
For Each Papoose:
- From the dry “leather” cut: One piece of “leather” cut at 6 ½” x 9″ and one piece of “leather” cut at 9 ½” x 16″
- 18″ handle (for strap)
- Brown grocery bag bottom
- Yarn, two pieces cut at 36″ length
- 8-10 colored pony beads
- Copy of Indian baby
Making the Papoose:
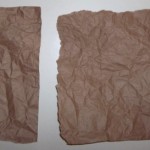 Tear about one inch off a short (6 ½”) side of the 6 ½” x 9
 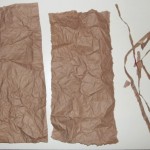 piece. Using the side of a black marker, run over the torn edge of the “leather” piece. Lay this piece on the bag bottom (board) with the straight bottoms and sides even. Staple the two together at the sides. Make a mark 1 ½” from the side toward the middle on the top side of
 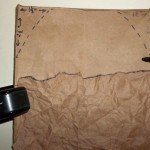 the “board,” and 2 ½” down from the top along the sides of
 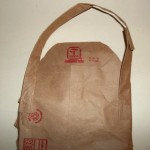 the “board.” Draw an arc between the two marks and cut to round off the top corners of the board. Using the side of a black marker, run over the top edges of the “board.” Staple the “strap” to the back of the board.
- Tear about one inch off all sides of the 9 ½”x16″ piece of
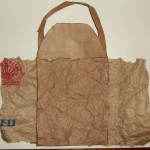 “leather.” Center the “board” over the large piece of “leather” with the bottoms even. Fold the sides of the “leather” to the front; they shouldn’t quite meet at the center. Slightly crease the sides so you know how much of the “leather” will show on the front. Draw and color Indian symbols on the front of the
 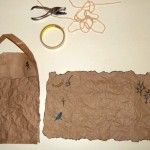 “leather” and on the top part of the “board.” Outline the drawings and run along the torn edges with the side of a black marker.
 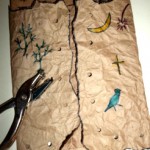 With the “leather” placed around the board, with the bottoms even, and using a paper punch, punch holes along the sides of the “leather” fronts and through all layers along the bottom of the “board.”
Lacing the Papoose:
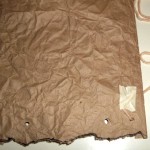 Place a small piece of tape at one end of each piece of yarn. Roll to make a needle-like end with the tape. Start by inserting the yarn/needle through the back, side bottom hole. Pull the yarn
 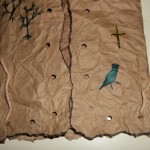 through to the front, but leave a couple of inches on the back side. Tape the end on the back side down. Repeat with the second piece of yarn on the other side of the “board” bottom. Then lace the yarn through the bottom and then up the middle of the “leather” piece. Tie a bow and then
 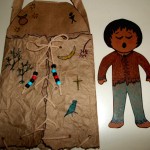 knot the bow. Thread pony beads on the yarn, make a knot in the yarn and cut off the excess.
Draw clothes on the Indian baby and carefully cut him/her out. 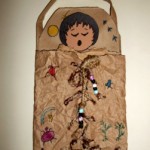 Slide the baby into the papoose, between the “board” and the back “leather” piece.
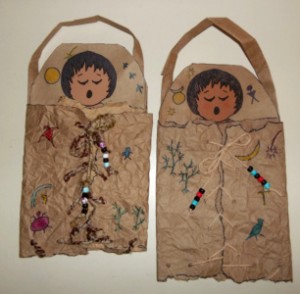
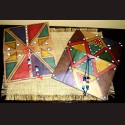
3rd Grade Projects Gallery:













Great idea! I’d love for you to come link up with us!
Very sweet craft. My daughter did one for a fifth grade project and was proud of it