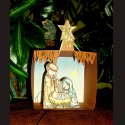
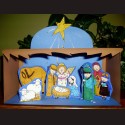
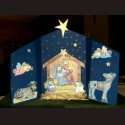
What kid wouldn’t want a Nativity of their own. This is sure to be a keeper. The figure illustrations are copyright Mo Manning. Mo gave me written permission to use the printed stamps for this project. Size the figures about 3″ tall for this project. 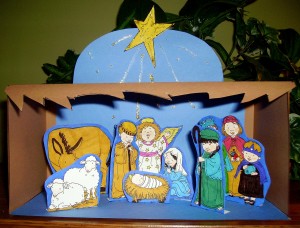
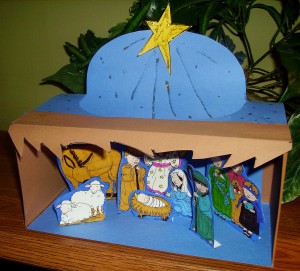
Supplies:
- Figures printed on white cardstock
- Blue construction paper
- Top half of scene (Pattern)
- Bottom half of scene (Pattern)
- Brown construction paper (two pieces cut 4 1/4″ x 4 1/4″ and piece 3″ x 9″)
- Thin colored markers or colored pencils
- Scissors
- Glue stick
- Gold glitter glue or white glue and gold glitter
Directions:
- Print out the top and bottom half patterns, match the side lines together and tape. Print this on the blue construction paper.
- Poke a hole at one end of the half circle on the top half of the stable, and cut to the other end. DO NOT cut through the dotted lines on the ends of the half circle. Fold down at the dotted lines.
- Fold under 1/4″ on one side of the 4 1/4″ x 4 1/4″ squares and glue to the sides of the stable below the folded lines.
- Fold the 3″ x 9″ piece of brown in half lengthwise. On one side draw and cut to look like straw. Glue to the folded down section of the stable.
- Add a 1/4″ tab to the bottom of all the figures printed on the cardstock. I also added a small border around all the figures to make them easier to cut out.
- Color the figures. For a bright look, use the colored markers; for a softer look, use colored pencils. Color the small border around the figures a blue to match the sky.
- Free-hand draw a star on some of the scrap cardstock and color it yellow.
- Cut the figures with the colored border on. Bend the 1/4″ tabs toward the back.
- With a glue stick, apply glue to the tabs and glue the figures behind the labeled lines on the stable base. Glue the star to the sky half circle.
- With gold glitter glue, trace over the halos of Jesus and the angel. Outline or fill in the star and add dots as small stars. Add rays down from the large star.
- You’re done. Fold the two sides toward the front; the straw top down to lay on the top of the sides and the bottom of the sides sitting on the base. To store, fold flat and put in a manila envelope.
Christmas Projects Gallery:


















Thank you for drawing this to my attention. The site address has been removed.
You have an inappropriate video linked to the webpage you reference for the Nativity project. You may want to check that.