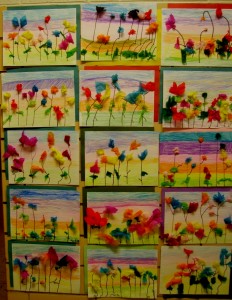
There’s snow on the ground and the temperature is below freezing, but the 1st grade class is “thinking Spring” today. Tissue flowers can stand the cold.
Supplies:
- White construction paper
- Assorted colors of construction paper for matting
- Colored tissue paper
- Pencil with eraser
- Crayons
- Glue stick
- Black Sharpie
Directions:
- With horizontal strokes and starting at the top, color the paper. Overlap the first color with another color and continue down the paper. For instance, start with blue, then over lapping the blue, color with violet. Then overlapping the violet, color with pink. Then orange and green. Any combination of colors will work, but I suggest keeping the background light.
- With the black Sharpie, draw stems up from the bottom of the page. Draw a short stem off each of the long ones at different levels. Draw an example on the blackboard, making sure the short stems are drawn so that there will be room to glue a tissue flower.
- Tear about a 2″ square piece of tissue, center a pencil (eraser end) in the center of the tissue square and then grab the tissue off the pencil and twist the tissue about one complete turn. Do this carefully so the tissue doesn’t tear.
- Glue the tissue flower to the end of one of the stems by applying the glue to the end of the stem and then placing the flower on top of the glue. Make sure to use the same color flower on the short stem. Make different colored tissue flowers and glue to the stems.
- Tear small, about 1″ pieces, of green tissue, twist one end and glue to the flower stems at different levels.
- Choose a sheet of construction paper that brings out the colors of the flowers and mat the picture.
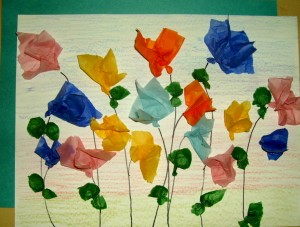
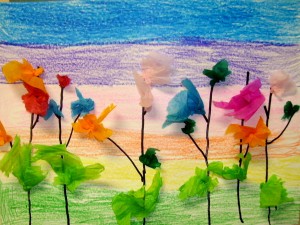
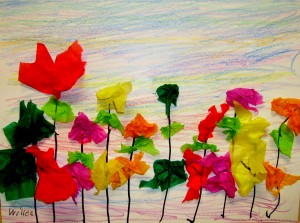
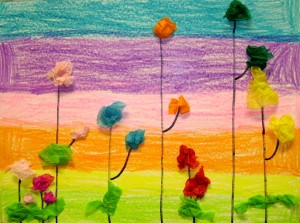
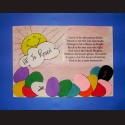
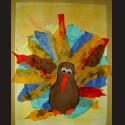
1st Grade Project Gallery:


















Pingback: 20 Tissue Paper Arts - Guru Koala
so good…
superb
very nice …..and good idea for kids
Pingback: March Great Activity Ideas « TR Connections
beautiful project…..